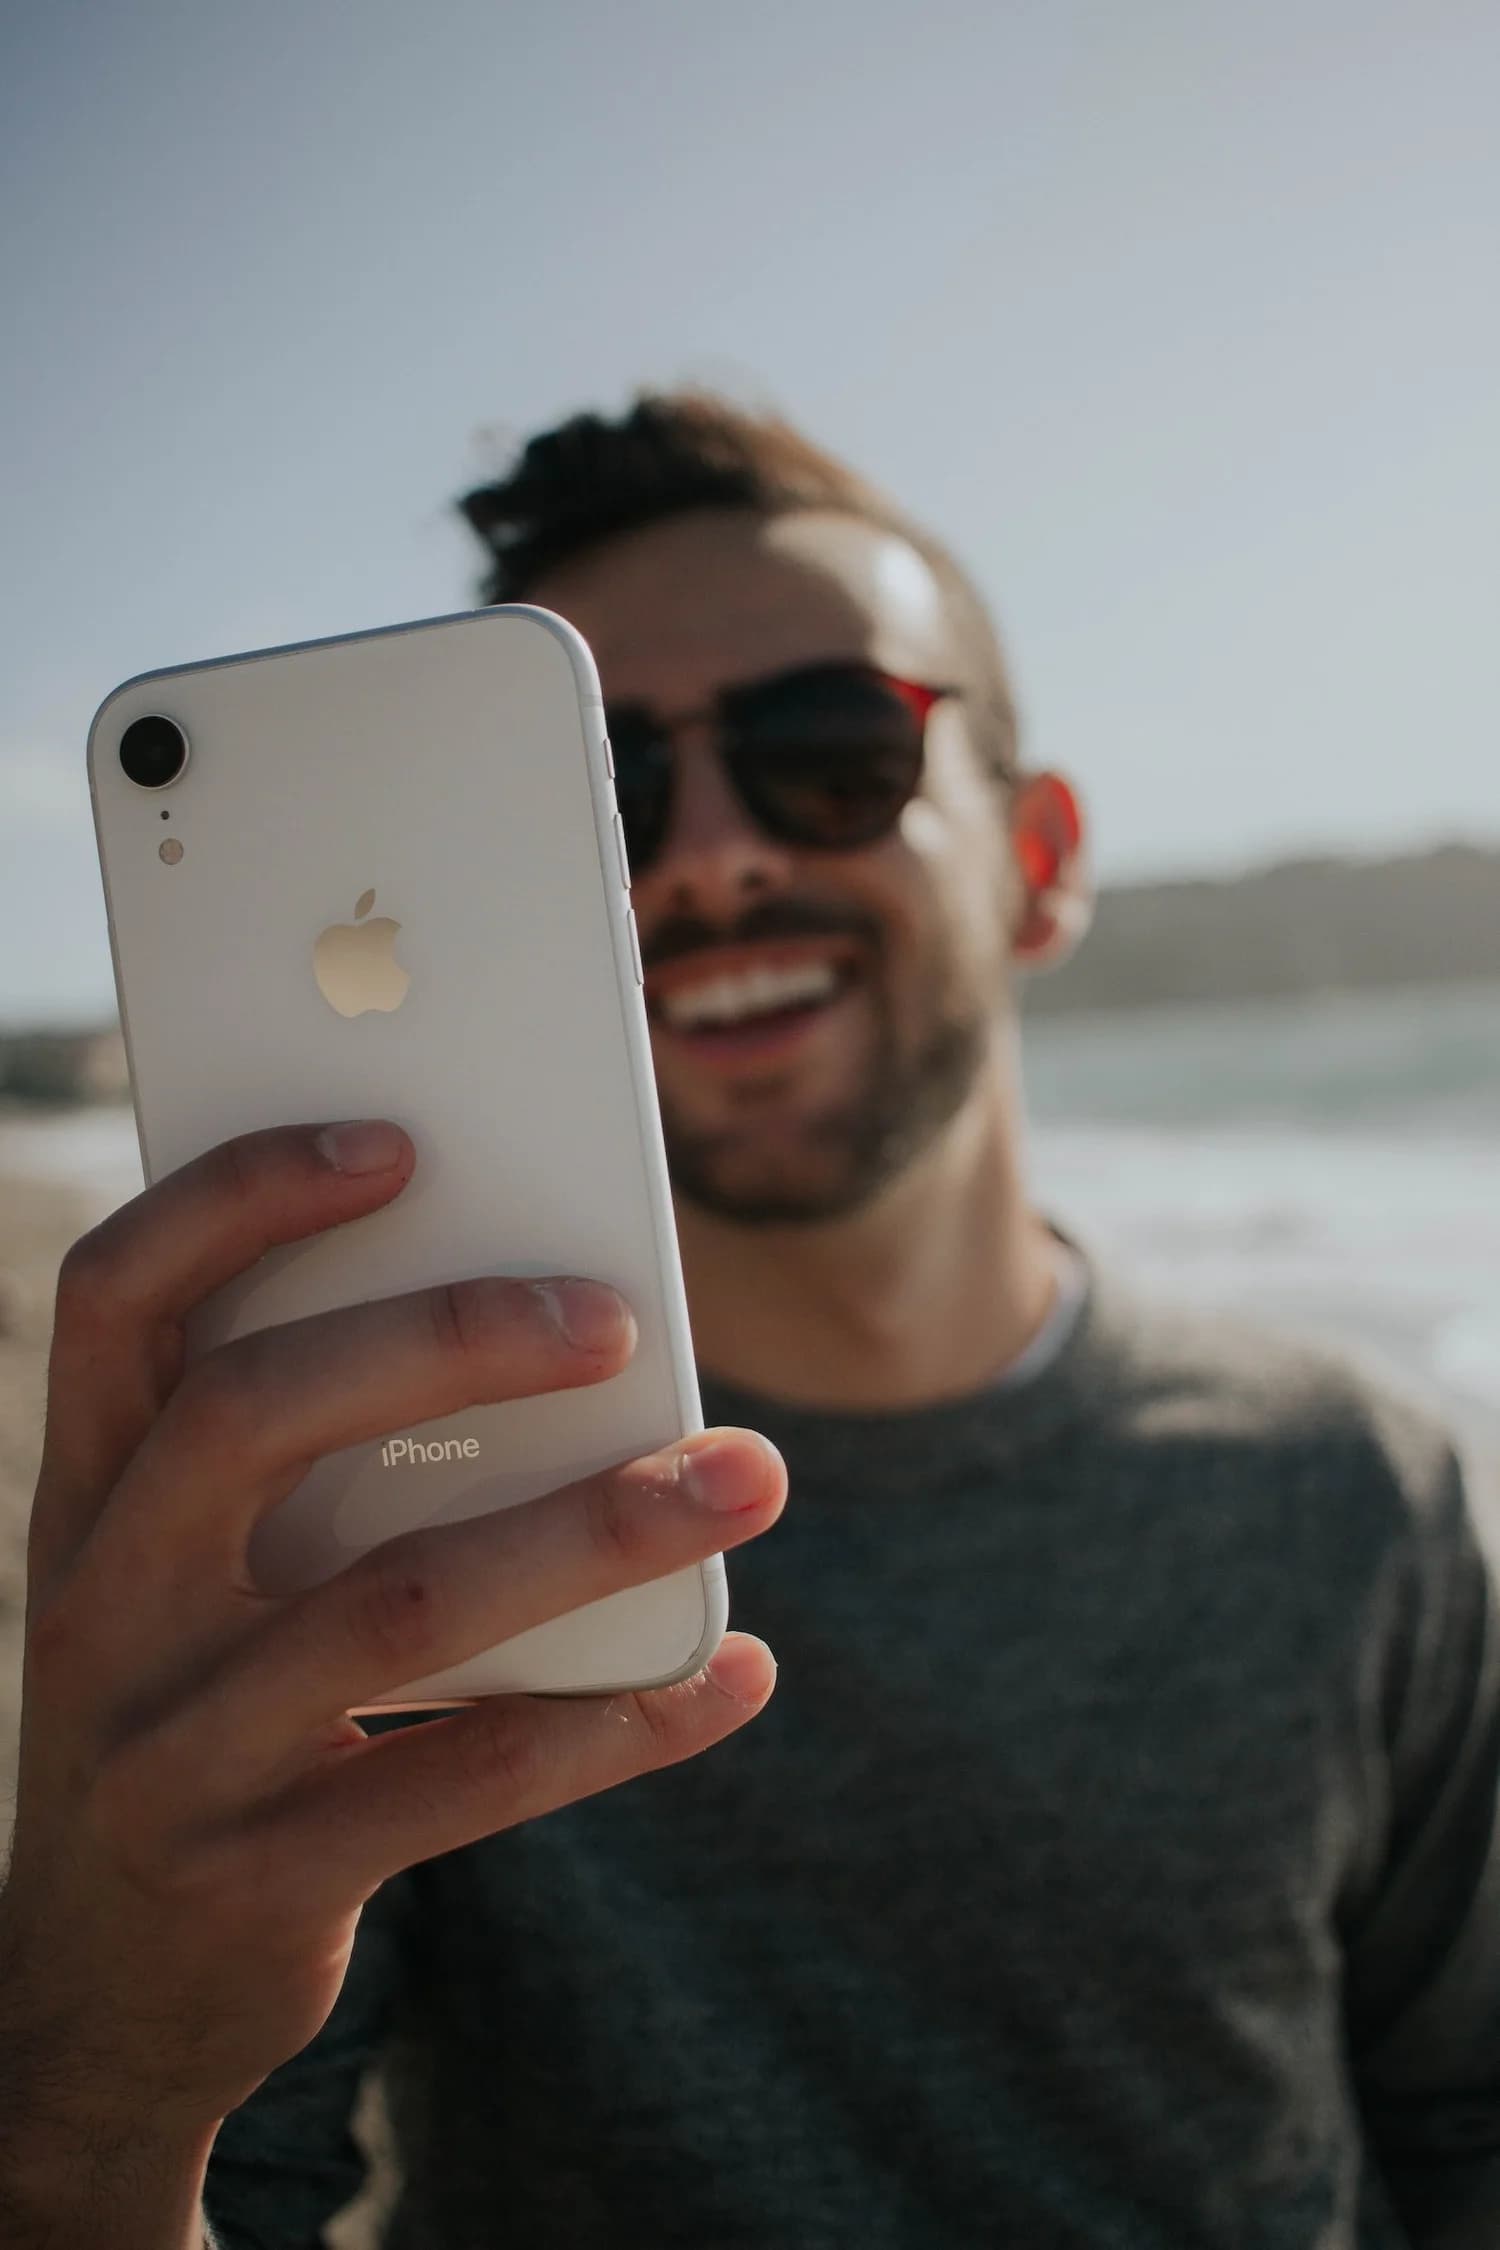
I first wrote about Apple's Cinematic Mode back in 2022, when the feature was still a novelty that looked impressive in Apple's keynote demos and mediocre in everyone's actual footage. Four years and several iPhone generations later (we're now on the iPhone 17 Pro running iOS 26) the technology has matured into something I genuinely respect as a professional photographer and videographer. This is my updated breakdown of how Cinematic Mode actually works, what makes it useful, and where it still falls short of a real cinema camera.
What Cinematic Mode Actually Does
At its core, Cinematic Mode simulates shallow depth of field in video. That's the effect where your subject is sharp and the background falls into a soft, creamy blur. On a real cinema camera with a large sensor and fast lens, this happens optically. Physics does the work. On an iPhone, the sensor is tiny and the lens is wide, which means nearly everything in the frame would normally be in focus. Cinematic Mode uses computational photography to fake what physics can't deliver at that sensor size.
Apple described the technology this way when they introduced it:
> "Cinematic mode shoots in Dolby Vision HDR with beautiful depth-of-field transitions. It uses machine learning and disparity information to create a depth map that is applied to the video in real time and even after capture."
That quote is still accurate, but the underlying technology has gotten dramatically better. On the iPhone 17 Pro, Cinematic Mode uses the upgraded LiDAR scanner to build a precise, multi-plane depth map of your scene at 30 frames per second. It identifies subjects (people, pets, objects) and separates them from the background with edge accuracy that was genuinely bad in 2021 and is now remarkably good in 2026.
How LiDAR Changed Everything
The early versions of Cinematic Mode relied primarily on machine learning to estimate depth from a single camera feed. It worked okay for obvious subjects like a face centered in frame, but it struggled with edges. Hair looked crunchy. Glasses created weird halos. Move your hand in front of your face and the depth map would tear apart for a few frames before catching up.
LiDAR (Light Detection and Ranging) changed the game. Instead of guessing depth from visual cues, the LiDAR scanner fires thousands of infrared dots into the scene and measures how long each one takes to bounce back. This creates a true geometric depth map, not an estimate. The iPhone 17 Pro's third-generation LiDAR is faster and denser than the original, scanning at higher resolution with better performance in low light.
The result is that Cinematic Mode on the iPhone 17 Pro handles edge cases (literally) that would have been disasters two years ago. Hair strands separate from backgrounds cleanly. Translucent objects like wine glasses get proper depth treatment. Subjects moving laterally across the frame maintain clean separation without the "swimmy" artifacts that plagued earlier versions.
What Makes Something Look "Cinematic"
Before diving into settings, it helps to understand what cinematographers actually mean when they talk about a "cinematic look." It's not just blur. Three elements work together:
Shallow depth of field. This is the obvious one, a thin plane of focus with a soft background. On a cinema camera, you achieve this with a large sensor (Super 35 or full-frame), a fast lens (T1.4 to T2.0), and a subject-to-background distance that creates visible separation. The background doesn't just blur. It compresses into smooth, rounded shapes called bokeh.
Focus pulls. In narrative filmmaking, the focus puller (or 1st AC) shifts focus between subjects to guide your eye. When a character turns to look at someone behind them, focus racks from the first face to the second. This is one of the most powerful storytelling tools in cinema, and Cinematic Mode replicates it remarkably well. It automatically detects when a subject looks away and pulls focus to whatever they're looking at.
Backlighting. This is the one most people miss. Watch any well-shot film and pay attention to where the key light is. It's almost never flat, front-on lighting. Cinematographers favor backlighting and side lighting because it creates depth, separation, and atmosphere. Backlight turns hair into a glowing halo. It creates rim light on shoulders. It puts the background into a slightly different exposure zone than the subject. Cinematic Mode can't create backlighting for you (that's still your job) but it amplifies the effect of good backlight by adding depth separation on top of the light separation you've already set up.
iPhone 17 Pro Cinematic Mode: What Changed in 2026
The iPhone 17 Pro with iOS 26 brought several meaningful upgrades to Cinematic Mode that are worth calling out specifically:
These aren't incremental spec bumps. The gap between Cinematic Mode in 2022 and Cinematic Mode in 2026 is the difference between a tech demo and a production tool.

My Settings Recommendations for Best Results
I've tested Cinematic Mode extensively, both for personal projects and to evaluate whether it's viable for client-facing content. Here are the settings and techniques that produce the best results on the iPhone 17 Pro:
Shoot in good light. This matters more than any setting. Cinematic Mode's depth estimation degrades in low light because both the camera feed and the LiDAR scanner have less data to work with. Overcast daylight, open shade, or a well-lit interior with large windows will give you the cleanest results. If you're indoors, face your subject toward a window.
Lock focus manually when it matters. Cinematic Mode's automatic focus tracking is impressive, but it's not a professional focus puller. It sometimes hunts or makes incorrect decisions about where you want focus. Tap and hold on your subject to lock focus, then release when you want automatic tracking to resume. For any deliberate focus pull, tap the new subject yourself rather than waiting for the algorithm.
Use the 1x (main) camera. Cinematic Mode works across multiple lenses now, but the main wide camera has the largest sensor and the most LiDAR data. It produces the cleanest depth maps and the most natural-looking bokeh.
Keep your subject 3 to 8 feet from the camera, and at least 4 feet from the background. This distance relationship is critical. If your subject is too close to the background, the depth map can't create enough separation. If they're too far from the camera, the depth effect becomes subtle to the point of being invisible. The sweet spot for a talking-head shot is about 4-5 feet from the camera with the background at least 6 feet behind the subject.
Set the simulated aperture to f/2.8 to f/4. I know it's tempting to crank it to f/1.4 for maximum blur, but that's where the computational artifacts become most visible. Edge detection isn't perfect, and at very shallow simulated apertures, the imperfections in the depth map become obvious. At f/2.8 to f/4, you get a natural-looking depth falloff that's convincing enough to fool most viewers.
Need professional video for your brand?
iPhone Cinematic Mode is impressive, but when the stakes are high, you need a real production team. Let's talk.
Get a QuoteHow Cinematic Mode Compares to a Real Cinema Camera
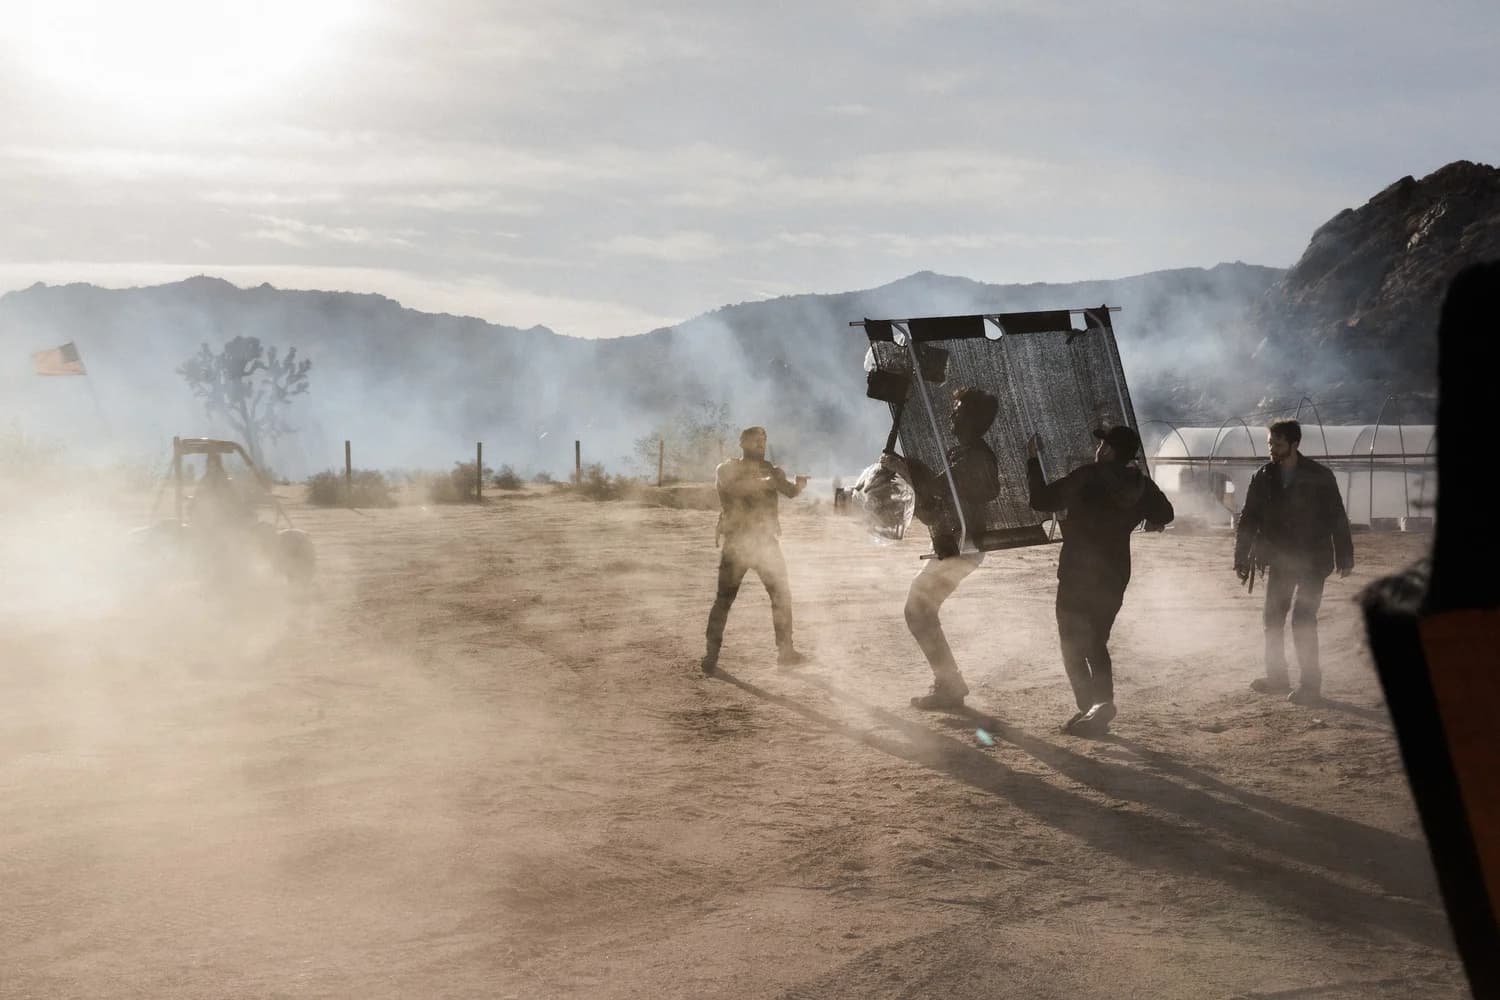
I shoot professional video on full-frame cinema cameras with cinema lenses that cost more than most cars. So let me be direct about where Cinematic Mode stands relative to real cinema gear:
What it does well: For social media content, internal communications, quick behind-the-scenes clips, and personal projects, Cinematic Mode produces results that are genuinely impressive. The depth effect is convincing at normal viewing distances (phone screen, laptop, even a TV across the room). The automatic focus tracking works well enough for run-and-gun shooting. The post-capture editing is something you literally cannot do with a real camera.
Where it falls short: Pixel-peep any Cinematic Mode footage and you'll find artifacts. The bokeh isn't truly optical. It lacks the character that comes from real lens elements. Wide shots with complex scenes (multiple subjects at varying depths, detailed foliage, chain-link fences) still confuse the depth engine. The simulated blur has a slightly digital quality compared to the organic, continuous falloff of a real fast lens. And you're still limited to an iPhone sensor's dynamic range and color science, which, while excellent for a phone, doesn't match a dedicated cinema camera.
The honest verdict: Cinematic Mode in 2026 is good enough that I recommend it to clients for their own social media content between professional shoots. It's not good enough for a brand launch video, a client testimonial that lives on your website, or anything where the production quality itself communicates your company's standard. For those projects, you need real glass, real lighting, and a real cinematographer making deliberate choices about every frame.
Practical Tips for Getting the Most Out of Cinematic Mode
Here's the advice I give clients who want to create their own video content between professional production sessions:
1. Backlight your subject. Position them with the main light source behind or to the side. This creates natural depth separation that Cinematic Mode amplifies beautifully. A window behind your subject, or golden hour sunlight, turns Cinematic Mode footage from "phone video with blur" to something that genuinely looks produced.
2. Stabilize the phone. Cinematic Mode's depth processing introduces very slight frame-to-frame inconsistencies. Camera shake exaggerates these. Use a small tripod, a DJI Osmo gimbal, or even just prop your elbows on a table. The steadier the shot, the more convincing the depth effect.
3. Keep compositions simple. One subject, clean background, moderate distance. Cinematic Mode thrives in these conditions. Complex scenes with multiple subjects at different depths, moving backgrounds, or detailed textures in the blur zone are where it struggles.
4. Edit the depth after shooting. This is Cinematic Mode's secret weapon and most people don't use it. Open the clip in Photos, tap Edit, and you can change the focus point and aperture for any moment in the video. Missed a focus pull during recording? Fix it in post. Want a shallower look? Dial it in after the fact.
5. Watch your backgrounds. Busy, high-contrast backgrounds reveal the computational nature of the blur. Smooth, evenly-lit backgrounds hide it. A plain wall, an out-of-focus cityscape, or soft foliage all work great. A chain-link fence, a bookshelf, or venetian blinds will expose every edge-detection flaw.
iPhone 17 Pro vs Cinema Camera: The Decision Framework for Corporate Video
Marketing directors ask me this exact question on almost every discovery call: 'Can we just use an iPhone?' The honest answer depends on five specific factors, and the calculus is different from what most people assume.
Audio. This is the biggest gap, and Cinematic Mode does nothing to close it. The iPhone's onboard microphone is fine for a vlog and unusable for a corporate testimonial that's going on your website. Even with a Lightning or USB-C lavalier, you're chained to the phone's mic preamp, which can't compete with the dedicated audio path on a cinema camera with proper XLR inputs and dual-system recording. If your video has talking, the iPhone is an audio compromise no matter how good the picture looks.
Dynamic range. A Sony FX3, Canon C70, or RED V-Raptor captures roughly 15 stops of dynamic range. The iPhone 17 Pro captures around 12 in Dolby Vision HDR mode. That difference matters most when you're shooting a CEO seated next to a window with bright sun behind them. The cinema camera holds the highlights and the face. The iPhone clips one or the other and you have to choose. For controlled studio interviews, the gap is invisible. For mixed-light corporate spaces (lobbies, offices with floor-to-ceiling glass, factory floors with bright skylights), it's the difference between a usable take and a reshoot.
Lens flexibility. A cinema camera takes any cine lens, any photography lens, anamorphic, vintage glass, custom focal lengths. The iPhone 17 Pro gives you a fixed 13mm-equivalent ultrawide, 24mm equivalent main, and 100mm-equivalent telephoto. Three focal lengths, fixed apertures. That's plenty for most casual content. For a corporate brand film where the look matters, you're locked out of the lens choices that actually create the look.
Recording reliability and time. Cinema cameras record to dual cards in redundant formats. The iPhone records to internal storage with no redundancy and thermal throttling on long takes. I've shot 90-minute interviews on a cinema camera without flinching. The iPhone in 4K Dolby Vision at 30fps will overheat and stop recording in extended scenarios. That risk is unacceptable on a paid client deliverable where you can't ask the CEO to do another take after the camera died.
Final deliverable destination. Where the video lives changes everything. An Instagram story, a LinkedIn clip, a quick CEO message to the company on Slack: iPhone is genuinely fine. Cinematic Mode amplifies what's already good about that footage. A homepage hero video, a sales pitch deck, a recruiting campaign on YouTube, a trade-show booth loop, a brand anthem film: every one of those is a context where the production quality itself communicates your company's standard. Skipping the cinema camera there is saving the wrong line item.
The decision in one paragraph. Use the iPhone 17 Pro with Cinematic Mode for any video where the audience will watch on a phone, the deliverable lives on social, and audio is short enough to be controlled with a wired lav. Use a cinema camera with a real audio chain and real lighting for any video where the production quality itself signals your brand standard, the audience includes prospects making purchase decisions, or the audio is longer than three minutes per take. The math is rarely about cost. It's about the destination of the deliverable. For our corporate video clients, we shoot on cinema gear because the deliverables justify it and the failure modes are unacceptable.
The Bottom Line for 2026
Cinematic Mode has gone from a gimmick to a legitimate creative tool. On the iPhone 17 Pro, it produces results that would have required thousands of dollars in camera gear a decade ago. For personal content, social media, and informal video, it's genuinely excellent.
But here's what hasn't changed: the gap between good and great in video production isn't about blur. It's about lighting, composition, audio, color, pacing, and storytelling. Cinematic Mode gives you one tool, simulated depth of field, and it gives it to you for free. A professional production gives you all of them, designed around your specific brand and message.
I tell my clients to use Cinematic Mode for everything that doesn't need to be perfect. Use it for Instagram stories, LinkedIn clips, internal team updates, event recaps. Get comfortable with it. Learn backlighting. Practice focus pulls. And when the project matters, when it's going on your website, in a pitch deck, or representing your brand to people who haven't met you yet, that's when you bring in a team that does this every day.
The best camera is the one you have with you. In 2026, the one you have with you happens to be remarkably good at pretending to be a cinema camera. Use that to your advantage.